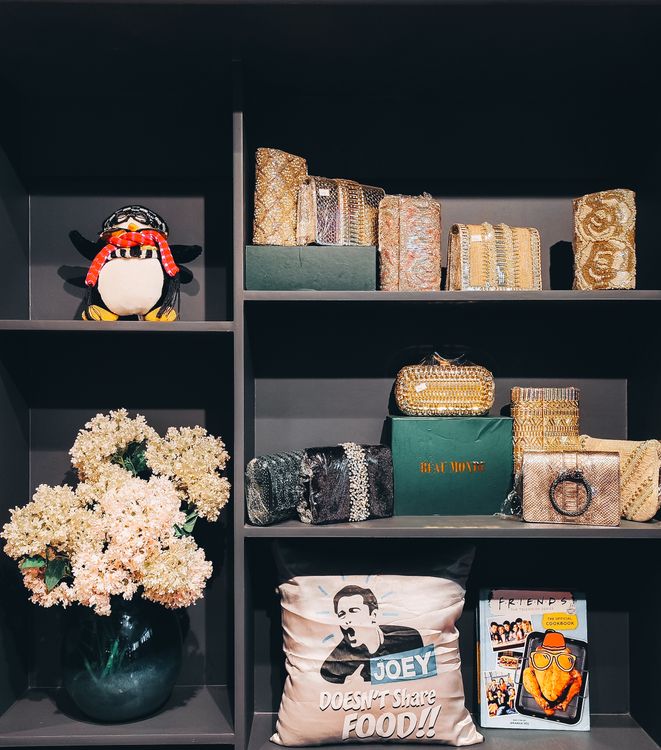
A successful point-of-purchase display is the result of more than a strong visual concept. It needs to communicate the brand, hold products correctly, fit within the retailer’s space, survive handling and be practical to manufacture. A structured development workflow helps all of those requirements move forward together.
1. Start With a Clear Project Brief
The strongest projects begin with practical information. The brief should define the products being displayed, approximate quantities, retailer requirements, available footprint, target materials, branding needs, expected production volume and any transport or assembly limitations.
Understanding these constraints early reduces the risk of developing a visually appealing idea that cannot be used in the intended environment.
2. Develop the Display Concept
Concept development explores how products, graphics and structure can work together. At this stage, the focus is on the overall arrangement, shopper interaction and brand presence. Several directions may be considered before one option is selected for deeper development.
3D rendering is useful here because it makes proportions and merchandising easier to review than a flat sketch alone.
3. Build Accurate CAD Geometry
After the preferred concept is selected, the design needs to be translated into controlled geometry. Product dimensions, shelf levels, tray depths, hooks, frames and panels are modeled accurately so that the display can be assessed as a real assembly.
This stage often reveals practical issues that were not obvious during initial concept work.
4. Engineer for Strength and Manufacturability
Engineering considers how the display will be fabricated, assembled and used. Material thickness, joint design, fasteners, unsupported spans, center of gravity and repeated shopper interaction all need attention.
For larger programs, value engineering can also simplify parts or production methods while protecting the intended appearance and function.
5. Prepare Fabrication Drawings and BOMs
Once the design is stable, detailed drawings convert the model into production information. These documents may include individual part drawings, assembly drawings, dimensions, tolerances, notes and a bill of materials.
A clear documentation set allows fabricators and suppliers to quote and manufacture the display with fewer assumptions.
6. Prototype the Critical Details
Not every project requires a complete finished prototype, but critical areas should be tested before full-scale production. This may include product fit, shelf strength, assembly sequence, graphics placement, shipping configuration or a new mechanism.
A prototype gives teams a physical opportunity to validate the design and make final corrections.
7. Release the Design for Production
After prototype feedback is incorporated, the final CAD files, fabrication drawings and BOM should be issued as a controlled production package. Clear revision status is important so that outdated drawings do not remain in circulation.
8. Support the Manufacturer During Build
Questions can still arise during production. A design partner who understands both the original concept and the manufacturing documentation can respond quickly without losing the intent of the project.
This production support is particularly useful when a supplier proposes substitutions, process changes or small dimensional adjustments.
A Connected Workflow Produces Better Displays
The key advantage of a structured process is continuity. The concept, CAD model, engineering decisions, fabrication drawings and prototype all support the same final objective. Instead of treating each stage as a separate task, the project develops as one connected system.
That approach helps brands and manufacturers move from an early idea to a production-ready POP display with greater clarity and fewer last-minute surprises.